Wednesday, February 27, 2013

Co-created Colour Wheel

The kids have been very interested in rainbows lately - I think their thoughts are turning to spring! We decided to explore the colours of the rainbow using found materials in our art area.

After cutting out a large circle from bristol board, I helped them divide the circle into sixths. We designated each section a specific colour and then began gluing what we found.


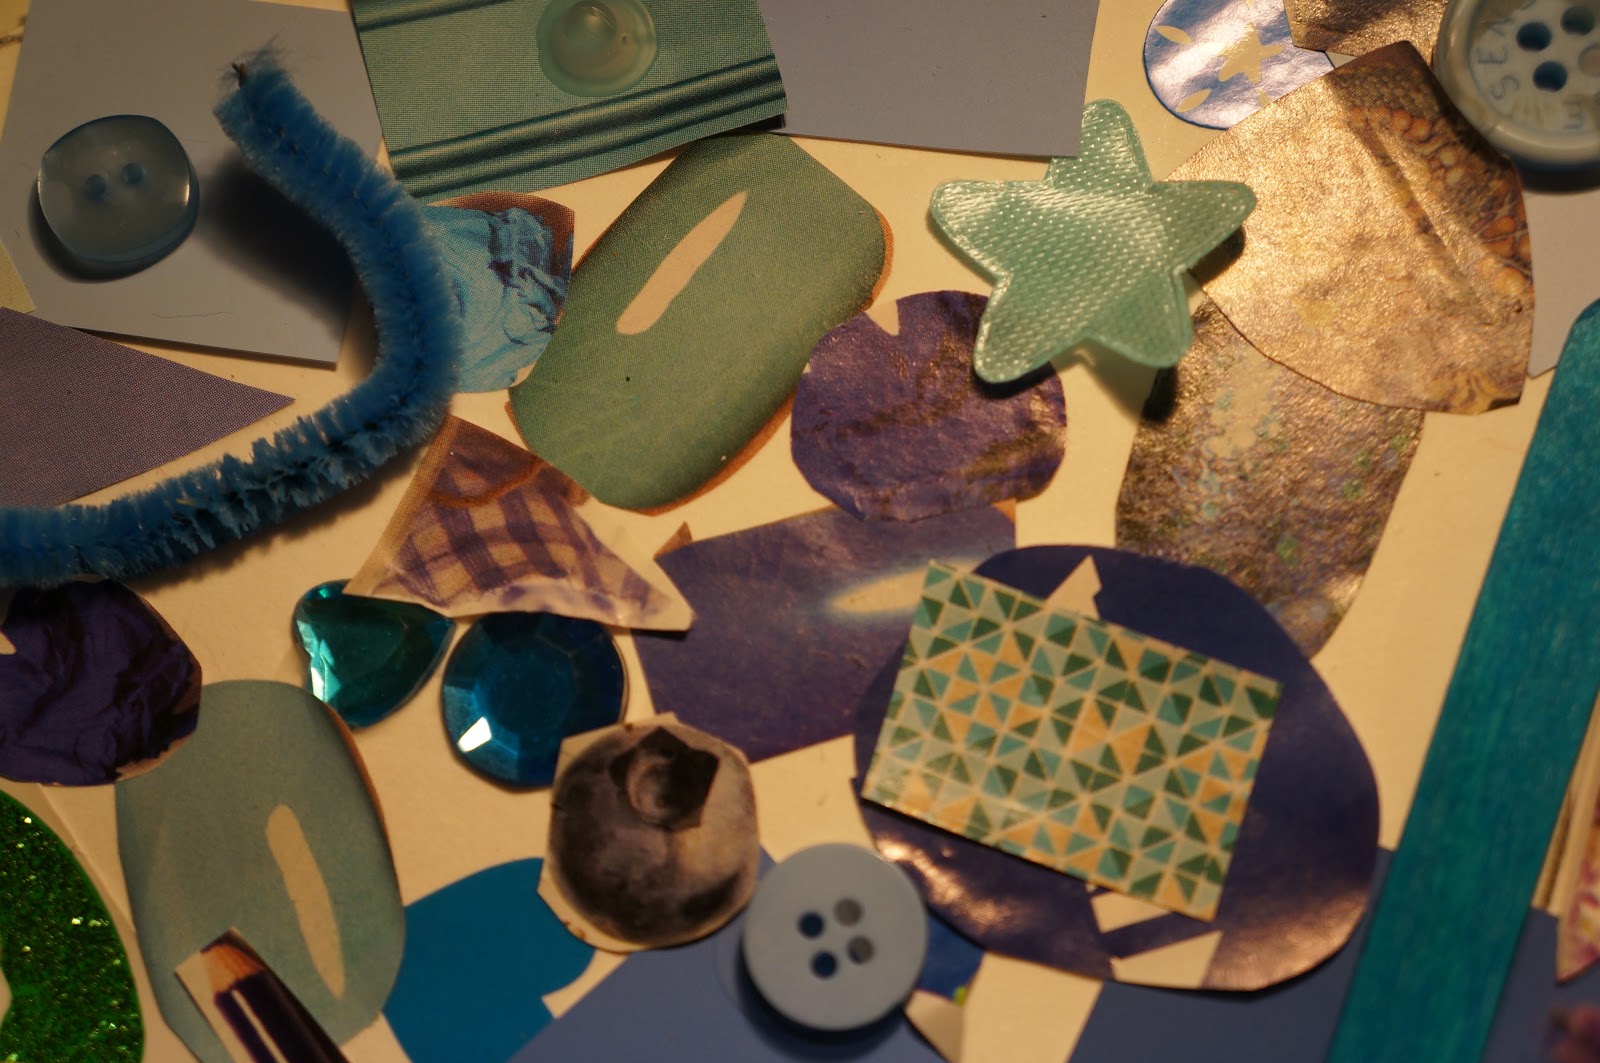
We used magazine cutouts, pompoms, beads, popsicle sticks, recycled caps, feathers, buttons, paint chips, stickers, pipecleaners and anything else that matched and fit into the colour collage! What I especially love about this display is that it can be mounted on our wall as a reference for colour. Unlike mass produced, colour bulletin board kits that can be purchased from teaching stores, my kids have a vested interest in the colour wheel because they created it. Through the process of finding and sorting objects by colour, they are aware that each has many shades. For example, blue can look many different ways and is not just the blue depicted on a colour poster. 


So in addition to helping us learn about colours, this activity promoted creativity, refined fine motor skills, encouraged mathematical thinking like sorting and puzzling, developed oral language, and instilled a sense of pride and ownership in one's work. 


Beautiful! It's going to become a permanent fixture in our art area after I leave it out on our table for a few more days to see what else is added to it!


Tuesday, February 26, 2013

Adult Initiated Provocations for Inquiry

In a developmentally appropriate, play-based learning environment children are encouraged to explore areas of self-directed interest. Sometimes these provocations for inquiry occur quite naturally (e.g., finding insects outdoors) and other times they are introduced by adults.

I thought it would be interesting to liven up a grey winter day by putting out a mystery object for my children to explore. I had them guess what they thought these were....


...and then compared them to artificial ones!

 
It was interesting to hear the children compare the two kinds of sponges. This was an opportunity for rich oral language as we described attributes and I introduced new vocabulary. Their engagement lead to the wonderful question of where real sponges come from. We spent some time researching this online before playing with both kinds of sponges in the tub!


The children were intrigued with how hard the natural sponges were when dry, and how easily they became soft and pliable when wet. They noticed that the artificial sponges seemed to float more easily and held more water. There was an interest expressed in how these sponges would compare as painting tools, so the next day we conducted an artistic experiment in order to find out.

The children help me create the experiment. We decided to choose three colours of paint and use one type of each sponge in order to compare the kind of marks they would make.


Although both sponges appeared to work in the same way, we noticed that the natural sponges were easier to smear and lightly dab on the paper when they had less paint on them.


The sponges are now a regular feature in our bathroom and the children can use them during water play or art creation. This inquiry lasted a few days and I'm now on the lookout for more interesting mystery objects to use as provocations for wonder and excitement in the house!

Sunday, February 24, 2013

Buttons on the Light Table

Sometimes all it takes for children to become engaged in a task is for it to be located in an unpredictable place. Sorting buttons becomes much more intriguing when done on a light table!


Saturday, February 23, 2013

Message System

In my quest to help eradicate the world of worksheets, I have been exploring ways to embed meaningful literacy experiences into our daily lives at home. I created a message system on our fridge that I hoped would inspire the kids to write message to one another using pictures and words - that way the system was accessible to our pre-emergent three year old writer, and could also support the more advanced abilities of our six year old.

I posted a picture and name for each family member on the fridge...


...and modelled how notes could be written and delivered to one another using sticky post-it notes.


I thought by posing questions I could engage in a motivating dialogue with my daughter, who would be able to independently read what I wrote to her and answer me back.


It's proven to be a very successful literacy experience so far and could easily be adapted for use in any early years classroom!


Friday, February 22, 2013

Recycled Styrofoam Stamps

I love discovering the unconventional beauty in found objects - I am constantly looking into our recycle bin and thinking about how we can use everyday materials in creative ways. The kids have been very interested in stamps lately and so I thought we could recycle some styrofoam trays we had from produce into our own handmade stamps (why do cucumbers need to be packed on styrofoam trays anyway?!?!).

This activity was so easy! We used a metal skewer to carve an image into a square of styrofoam. My daughter visualized what she wanted her design to look like, but it would be easy to have children preplan their stamp by sketching it on a piece of paper first.


Next she affixed the stamp to a large foam block (with some tape) so that it had a base that could easily be grasped.


She gently stamped her paper after wetting the stamp with an ink pad and....voila! Her own unique, recycled stamp!


My daughter spent much time creating many new designs and testing them out on her papers. Next I'm going to encourage her to use her new stamps to design stationary that can be used to write letters to her friends and family!

Thursday, February 14, 2013

Exploring the Backyard in Winter

We have had some beautiful sunny weather around here lately - the perfect kind of weather for getting outside for some fresh air and playtime! We decided to check out the garden to see what the plants looked like in the middle of winter.


It was interesting to see that some of our plants are still green, even though we just had some recent snow fall. What really caught our eye however was how some of our flowers had dried on their stems and looked preserved from the fall. The white hydrangea was interesting...


...and so were the seeds from the tall, striped grass.


After carefully cutting some, we pressed them in between two sheets of clear contact paper and brought them inside for viewing on our light table.


The light below allowed us to see the parts of the plants in great detail - highlighting veins in the flowers and the intricateness of the seeds.


We thought it would be fun to gather more of the dried flowers and create art. We used brown, white, and gold acrylic paint.


Caleb carefully dipped the flowers in the paint and stamped them on his paper.


The thickness of the acrylic paint helped it to keep the print left by the dried flowers on the paper...


...and resulted in a gorgeous marble inspired piece of art! We liked how the colours we chose represented the colours we noticed in our garden this time of year!


Tuesday, February 12, 2013

Still Life Tulips

I love to have spring bulbs in the house to brighten up the winter months! I thought that this particular pot of tulips would be lovely to inspire some still life drawing and painting.

 
 Because we have our drawing/writing materials sorted by colour, it was easy for Cadence to choose what she thought would be a best match for representing on her paper what she was seeing in real life.


A great strategy she used was to hold up the drawing tool to the tulips in order to select the best colour match possible.


She experimented with drawing the tulips using crayons, coloured pencils, and markers.


When it was time to paint, we discussed how to get the perfect shade of pink to represent the flowers. We started out by adding a tiny bit of red to our pot of white paint.


 We mixed....


...and added more red....


...and saw if it was a match...


...and added more red....


...and mixed and mixed and mixed....


...and checked...


...until finally we created the perfect shade of pink.


It was interesting to compare the still life pictures that Cadence felt were her best and discuss how her representations evolved with each experience, and how the selection of tools/materials helped to create as rich a representation as possible!


Related Posts Plugin for WordPress, Blogger...