Friday, December 7, 2012

Candy Cane Paint

We had a great time today painting with candy cane paint - a mixture that will appeal to multiple senses!  All you need is shaving cream, mint/peppermint extract, and red food colouring. 


Squirt some shaving cream into a bowl...


...add a few drops of the extract and food colouring...


...and swirl together lightly to achieve a candy cane striped appearance. Do not over mix the ingredients or the candy cane effect will be lost.


This paint is so irresistible - it looks wonderful, smells delicious, and is so soft and squishy to touch! We enjoyed painting with it on the easel. Because it's easy to clean up, it's great when painted by brushes or as a fingerpaint.

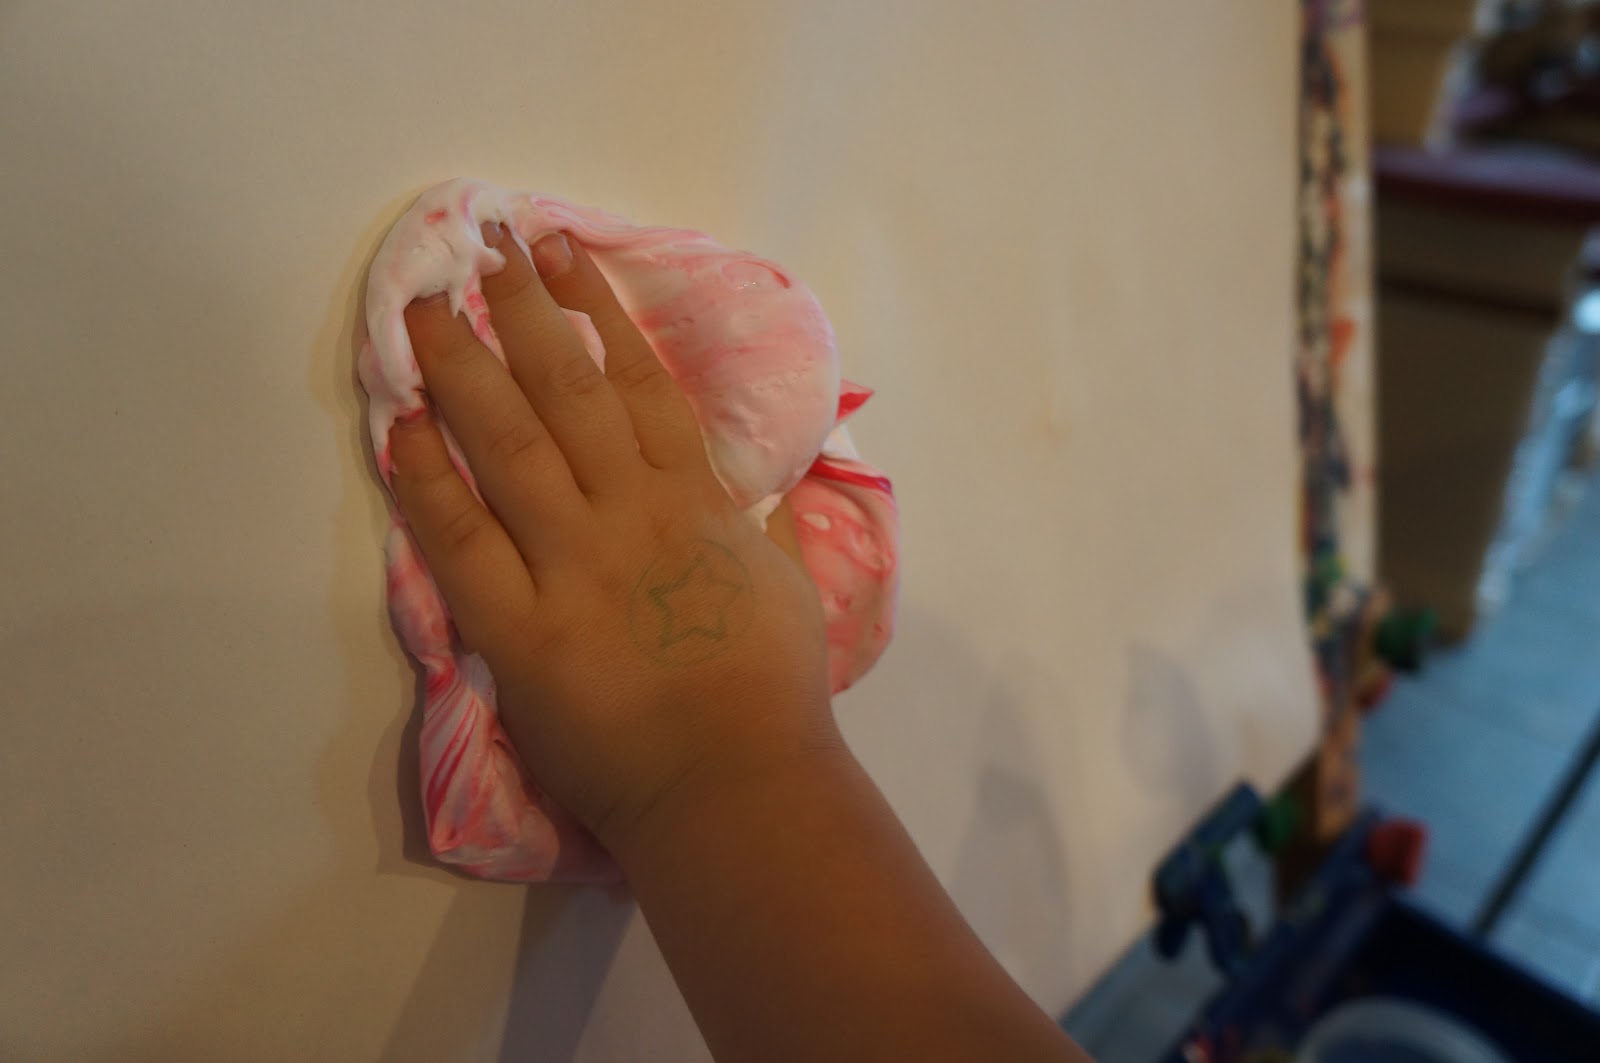


I plan on making another batch for when we do painting in the tub again!

Thursday, December 6, 2012

Christmas Tree Stringing

Although this activity is not as open-ended as I usually like, I can appreciate the fine motor practice that it encourages. My children are very motivated by anything Christmas-related, and the tree can be left as a station for repeated use as the beads can be rearranged multiple times.

We used green pipe cleaners cut in various lengths and a variety of pony beads.


After ordering the pipe cleaners by length (longest to shortest) I helped wind them around one of the paper towel holders I mentioned in my previous post. Caleb needed my help with this but I believe an older child would be able to do this independently.

Once all pipe cleaners were wound we arranged them so they looked like branches of a Christmas tree.


I encouraged Caleb to 'decorate' the tree by putting the pony beads on the branches, which was excellent fine motor practice for him.


He spent a great deal of time at this activity. When he was finished we removed the beads and left the tree out for another time. I think this would be a great activity to put out at a fine motor station - many materials could be provided in addition to the pony beads including dried pasta and buttons.

Wednesday, December 5, 2012

Displaying Ribbon

In Reggio Emilia inspired spaces the art materials are considered to be aesthetic additions to the learning environment and arranged so that they are appealing to use. The environment exists as the 'third teacher', inspiring children in their endeavours. 

We have spools of ribbon thrown into a bin in our art area and I find that the children are not usually eager to use it, either because they forget where it is or it's a mess when they finally dig it out.  

I found these beautiful paper towel holders at our local dollar store and thought they'd be great for displaying our ribbon. They are slender enough to hold most spools and their upright position allows them to sit on top of a working area or shelf when not in use.


Doesn't this look beautiful? The ribbon looks much more appealing organized like this!


By stacking the colours in a spectrum they are aesthetically pleasing and functional. I have another two holders and am planning on creating one for neutral browns and the other for black and white shades of ribbon!


Monday, December 3, 2012

Holiday Inspired Stamping

Why buy holiday wrapping paper when you can make your own? We used star cookie cutters and acrylic paints from the local dollar store. It was so easy to do and gave the kids another way to help out when preparing things for the upcoming holiday season!


Saturday, December 1, 2012

Moving from Concrete to Abstract Representations of Structures

Building is a big deal around here. Wanting to continue using our back door as a space for learning, I encouraged the kids to build with the foam 3D shapes. 


It was interesting to see the natural puzzling that occurred as Caleb tried to fit the pieces together. Cadence was more interested in building castles.


I wanted to help move their thinking from concrete to abstract, so I took a few of the sponge blocks, and together with ink pads, encouraged the kids to either replicate their designs on paper, or create new ones.


It was amazing to see how intricate the design became as more stamping was done!


Wow! Pretty impressive for a three year old!


Thursday, November 29, 2012

Tub Painting

Such a fun and easy way to encourage creative exploration and play during bath time that is super easy to clean too!

We used a plastic veggie tray for our palate.

The kids helped me to squirt a bit of shaving cream in each section.


Using a few drops of food colouring, they chose different colour combinations to try.


We used paint brushes to stir the colours and shaving cream together to see what colours were created.


The tray actually floated on the water!


They had lots of fun painting all over themselves and the walls of the tub. (You might want to do a spot check the first time you paint to make sure the colour doesn't stain your tiles or grout.)


We used thick paint brushes this time but we've also tried other art tools like sponges.


Super easy to clean when done...just rinse the walls and tub with warm water. It smells great too!


This is easily modified for the classroom where children can paint in a half-filled water table, tiled wall and sink area, or the clear lid of a tactile table!

Monday, November 19, 2012

Mirror Building

I have been reading a lot lately regarding the use of mirrors to enhance exploration and creativity in Reggio Emilia inspired activities and I was eager to try this with my children. We just rediscovered some wooden blocks and I set them up next to a flat mirror on our living room floor.


My children were a little apprehensive at first to try this activity. I encouraged them to be gentle with the mirror and ensured that I was close by to supervise - I knew my daughter would understand the fragile nature of the mirror but wasn't so sure my three-year-old son would.

The children instantly noticed their reflections on the smooth working surface.


It was hard to tell where the real structure ended and the reflected one began...


In addition to a neat mini-lesson on reflective surfaces, this activity allowed me to discuss the differences between 2D and 3D shapes and introduce some terminology (e.g., cube, triangular prism). It was also interesting to see my children problem solve how to stack the blocks so they did not fall as their towers got taller. You'll notice the 'sidewalks' my son created that joined the structures together. He had a wonderful imaginative story for why the inhabitants of the structures needed to be able to visit each other.


For a great article on how block play encourages numeracy, visit Block Play, Math and Literacy.

Sunday, November 18, 2012

Christmas Sensory Bin

We have Christmas fever around here now that the autumn decorations have been packed away. I decided to create a Christmas sensory bin for the kids to explore. I used trinkets that I found at the local dollar store (bells, bows, garland, beads, pompoms, etc.) and put them together with a mini Christmas tree, some gift bags and miniature boxes.
   

There was so much to look at and touch! The bright, shiny objects were very appealing!


It was fun to put together 'gifts' for people! The sensory box had much math potential as my son had to figure out what objects fit in the boxes, which box lids matched the box bottoms, which length of ribbon would fit around the boxes in order to secure them, and the different ways we could sort objects into the bins.


It was also fun to decorate the little miniature Christmas tree with the materials in the bin! This was a favourite activity since the kids have been asking when we are going to get our tree as they are so excited to decorate it. This gives them lots and lots of time to explore decorating in their own way.


Because the materials are so small, decorating the tree proves to be great fine motor practice too!


Related Posts Plugin for WordPress, Blogger...