Showing posts with label hearts. Show all posts
Showing posts with label hearts. Show all posts
Thursday, May 12, 2016
Thankful Hearts
In our classroom we attempt to integrate meaningful literacy and numeracy experiences into every centre including snack. This video explains how.


Monday, February 10, 2014
Valentine Sensory Table
Our water table was filled with some fun seasonal materials today - purple water, rose petals, sparkles, hearts, and foam cut outs. The children were eager to pour, stick, and pattern with the objects.


Sunday, February 10, 2013
Marble Effect Hearts
To start, smear a layer of shaving cream on a flat tray.

Drop a good amount of food colouring all over the shaving cream. We decided we wanted a rainbow effect so we dropped the colours in the order of the spectrum.

Use a fine tool like a toothpick to swirl the colours into one another - the more you swirl the more of a marble effect you will create!


Once you have the effect you like, gently press a piece of paper and smooth it over the coloured shaving cream.

This is the paper after it has been lifted from the tray - it is beautiful in itself!

Use a hard, straight edge to smooth the excess shaving cream off the paper. We used a hard piece of cardboard.

The effect of the stained paper is simply beautiful!

We created a number of marble papers and cut them into hearts, which we strung across our front entrance! Beautiful!

Tuesday, February 5, 2013
Recycled Tube Heart Stamping
I love to recycle things into art materials and use as many 'found' things as possible in our explorations. I have noticed on a few of my favourite blogs that it's easy to turn a regular cardboard tube into a heart stamper by creasing it at the top.

We made six stampers and used a muffin tray as our paint 'palette'. It kept the paint organized and was perfect for keeping close to our working paper.

At first Caleb was very meticulous in how he stamped the hearts. He wanted each one to be perfectly formed and took his time analyzing the paper and planning his next move.


After a while he became lost in the activity and really explored how the stamps could be placed over top of one another; the heart forms still visible but the colours blending together...

In the end he created a beautiful masterpiece! I'm always amazed at the beauty behind children's artistic expressions - especially when we resist the urge as adults to control the experience. Had I reminded Caleb to carefully stamp each heart on the paper in its own space, as he was doing at the beginning of the activity, he wouldn't have ended up with such a beautiful piece of art!

Friday, January 25, 2013
Valentine Bath
We've had valentine fever around here so I thought I'd create a fun bath experience for the kids that encouraged creativity. These activities would also be a lot of fun in a large water table.
We used large and small foam hearts, bath time crayons (made out of soap), and valentine's paint (shaving cream coloured with red food colouring and sprinkled with sparkles and mini foil cut outs).


I added lots of bubbles and coloured the water in the tub red with a bit of food colouring. The foam hearts floated on the top of the water and looked so pretty!

The wet foam pieces stuck to the sides of the tub and wall and the kids were able to create pictures and also paint on top of them. The paint also acted as a glue and could also be used to stick pieces together.

The paint was so pretty and lots of fun to use. It was great with brushes or as a finger paint!

Friday, February 3, 2012
Heart Cookie Cutter Stamping
A fast and easy way to engage children in printmaking is to use cookie cutters dipped in paint.


Our children are so creative and drawn to activities that engage them in experiences that appeal to many of the senses.


What was amazing to us when observing the children at this activity was their unique way of exploring the materials. No two pieces of art looked the same.
Some children created prints, then layered paint on top, leaving an original imprint, and then printing again on top. In the following piece you can see the original hearts faint behind the overall red colour. Gorgeous!
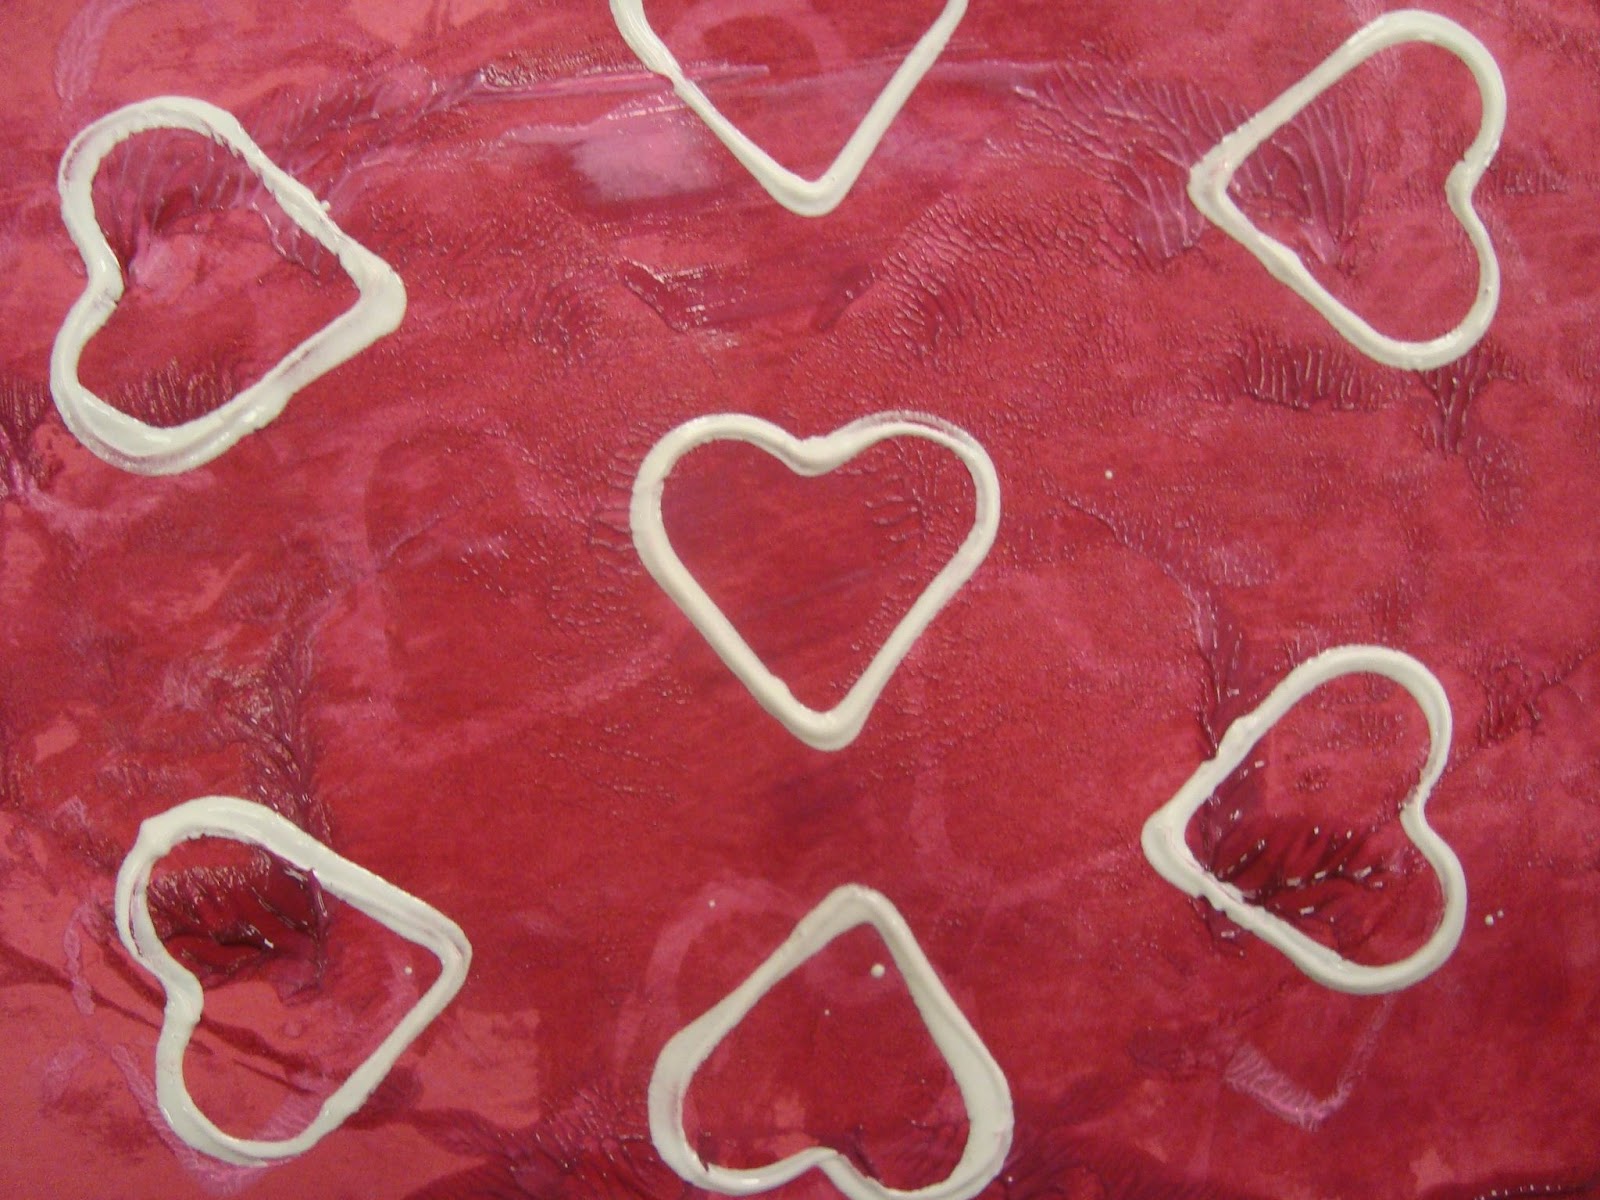
One child layered and layered the paint. leaving a very textured look to the paper.

This child printed on the paper and then folded it in half, creating a marbled, symmetrical look.


Subscribe to:
Posts (Atom)
